 A few days ago, a friend asked me about the Black and White setting on her digital camera. Did I think using it and other settings, like sepia, was a good idea. Or was it better to take a colour image and change it later in Photoshop. My simple answer was “Don’t use your black and white camera settings – ever,” and here’s why. If you let the camera make your images black and white or sepia instead of colour, you give up your creative control.
The problem is not just taking a photo in B&W and then realising later you’d like to have it in colour, although, that’s a great reason in itself. You can always go from colour to B&W but you can’t bring colour back that was never there (well, you can create new colour but that’s a whole other topic!) Photoshop can give you control over your B&W that your camera just can’t do.
We can take this one step further and say don’t give Photoshop total creative control either, by using the desaturate feature. This feature simply takes the colour out of your image and assigns shades of grey. The result is usually flat and lifeless. A great B&W image should have a wide range of tones including true white and true black.
There are many ways to get great B&W images in Photoshop. Entire books have been written on this topic. But I’m going to show you one quick and easy way to turn your colour image into a beautiful B&W. And you will still have plenty of control to go back and change things later if you so choose.
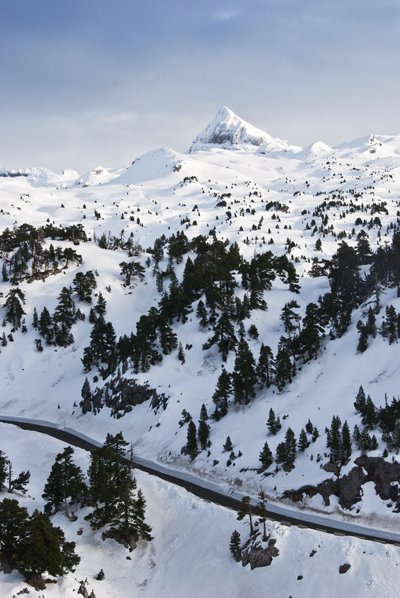
Let’s take a look at my colour image of some mountains in the Pyrenees. It’s fairly monochromatic anyway so I think it will make a nice Black and White.
Now lets see what happens if I automatically desaturate it in Photoshop by going to Image > Adjustments > Desaturate or by using the shortcut Shift+Ctrl+U (You will get a similar result by having your camera take the photo on its B&W setting).
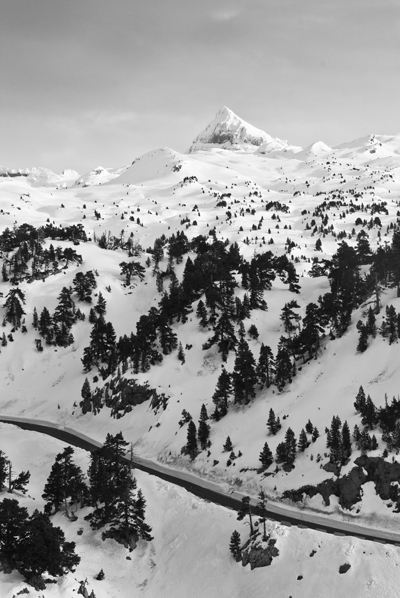 It looks pretty flat and not very dramatic. Let’s see if we can help. We’ll go back to our original colour image and select the Black and White option from the adjustment layers list. This keeps our colour image unchanged but adds the B&W adjustment layer on top.
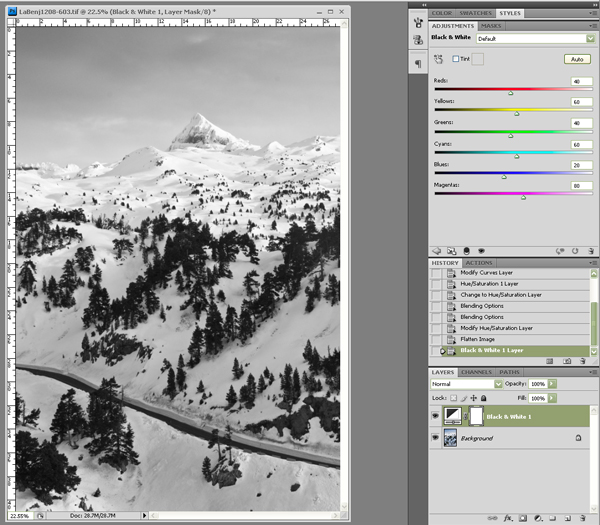 As you can see, the default setting is basically the same as when we pressed desaturate. However, if we click on that drop down menu, there are various different pre-sets that we can apply to our photo. After trying all of the pre-sets, I like High Contrast Red and Infrared the best. I’m going to select infrared:
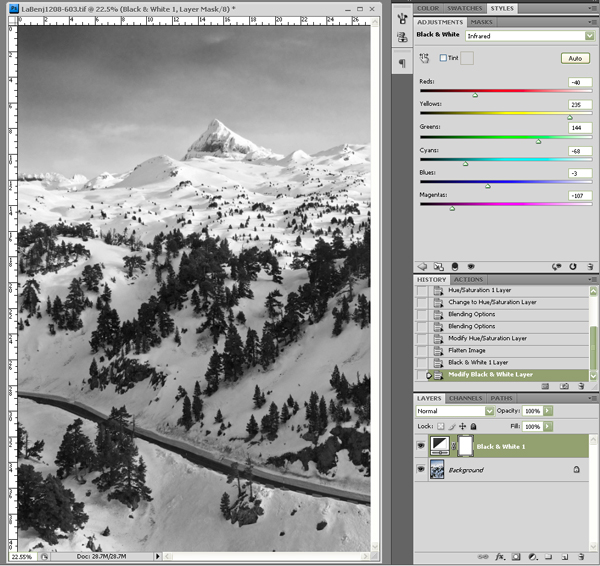 Already the image is better. The sky is more dramatic and there is more detail in the trees. However now I can go in and tweak the individual colour sliders however I like. Or, even better, if I click on the pointing finger icon circled in red below, I can click and drag directly on the area of my image I want to change. Here, I’ve darkened the sky even more:
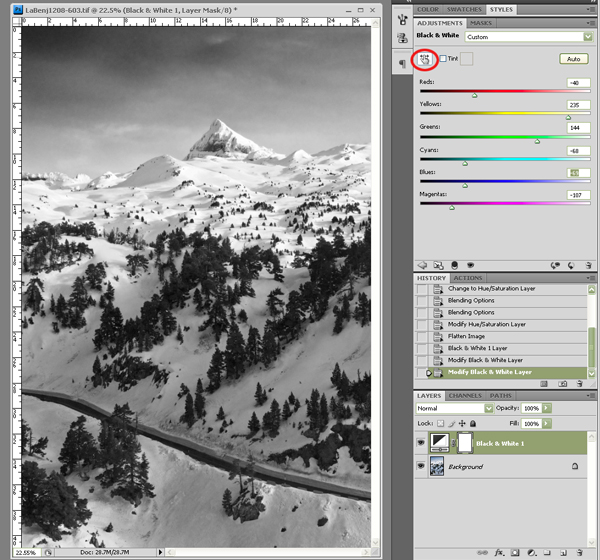
Once I’m happy with my B&W adjustment, I can then add any other adjustment layers I want. Remember that none of these adjustment layers will alter my original colour image which is the background layer. I’m going to apply a Hue/Saturation adjustment for more contrast.
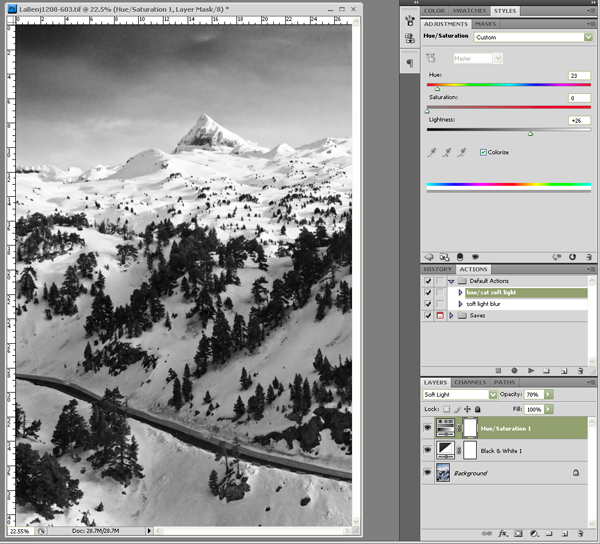 Now lets take a look at the desaturated image and our new black and white image:

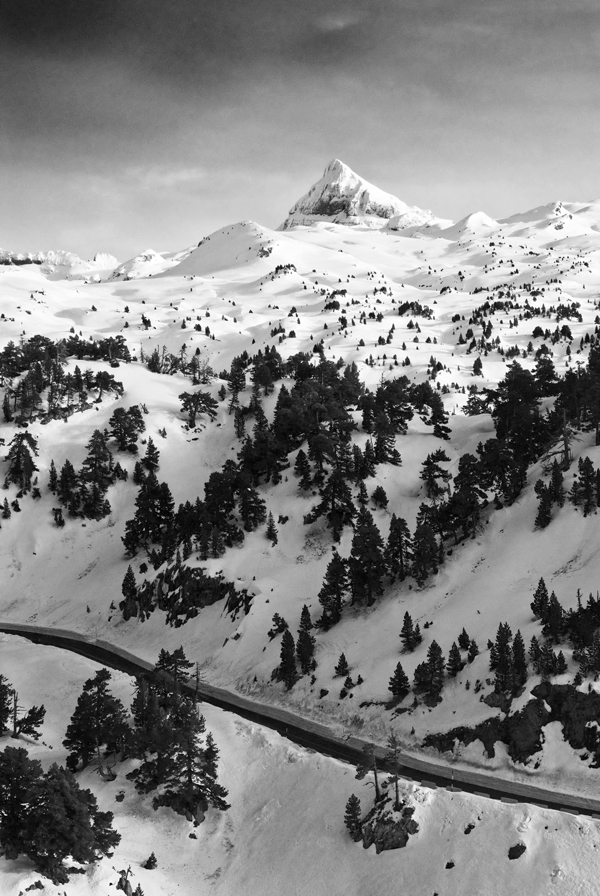
Now it’s much more dramatic! And what if we still want that sepia image? In our black and white dialogue box there is a Tint option. Check the box and the colour picker opens, giving us a live preview of any tint we want to add.
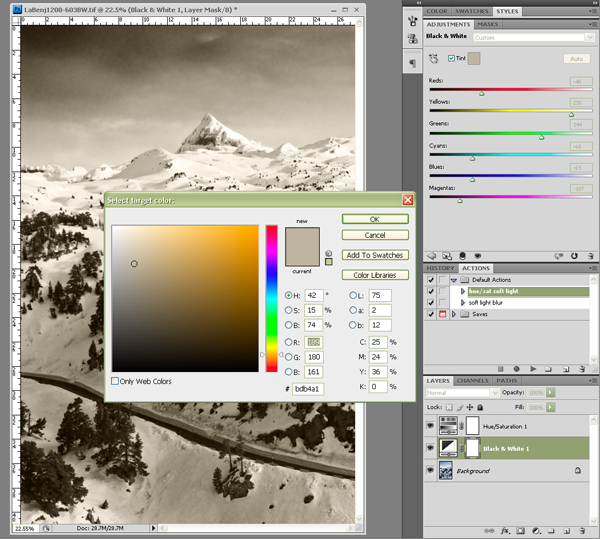
Here’s our image in Sepia and with a blue tone:
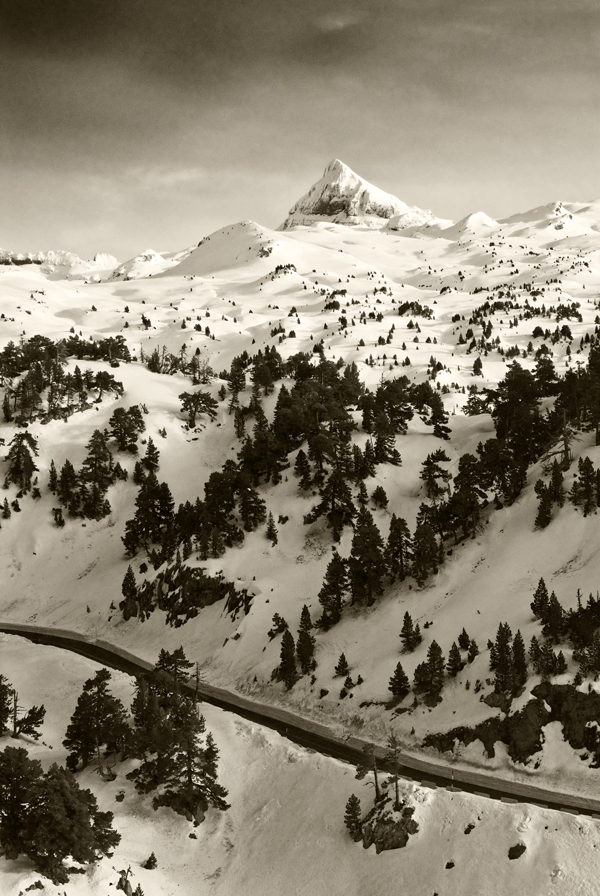
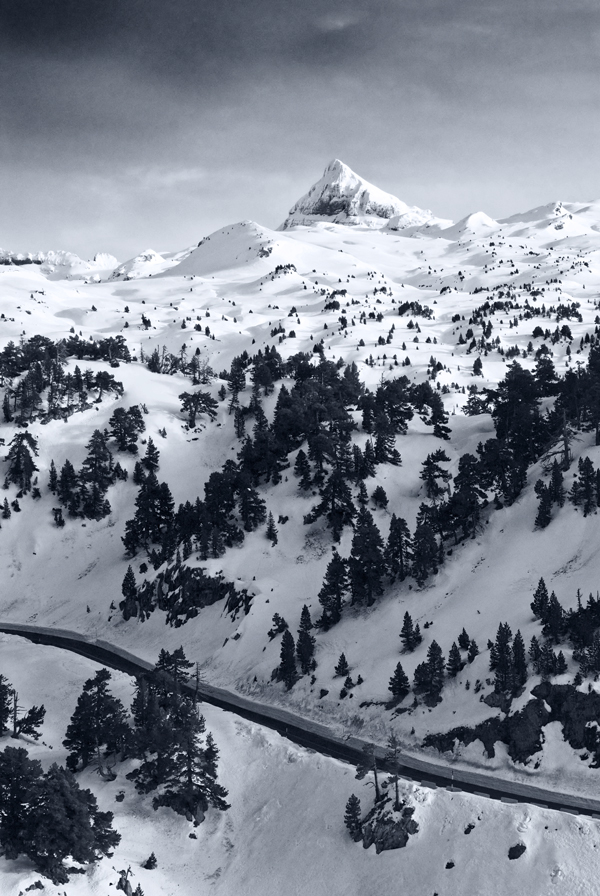
Instead of having one B&W image from our camera, we now have infinite creative possibilities in Photoshop.