Here is a really quick Photoshop tip to give your photos a little added contrast boost. This tip is highly flexible and can easily be made into an action. Once you see the difference this quick tip can make to your photos, I’m sure you will use it again and again.
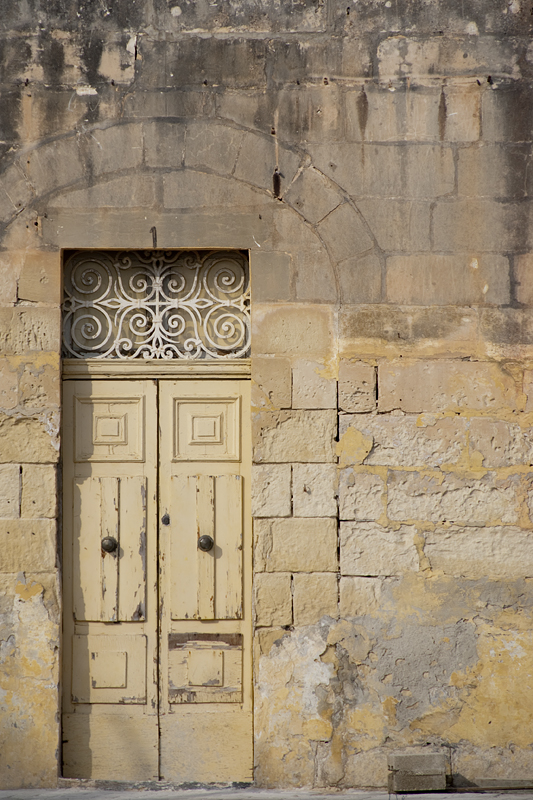
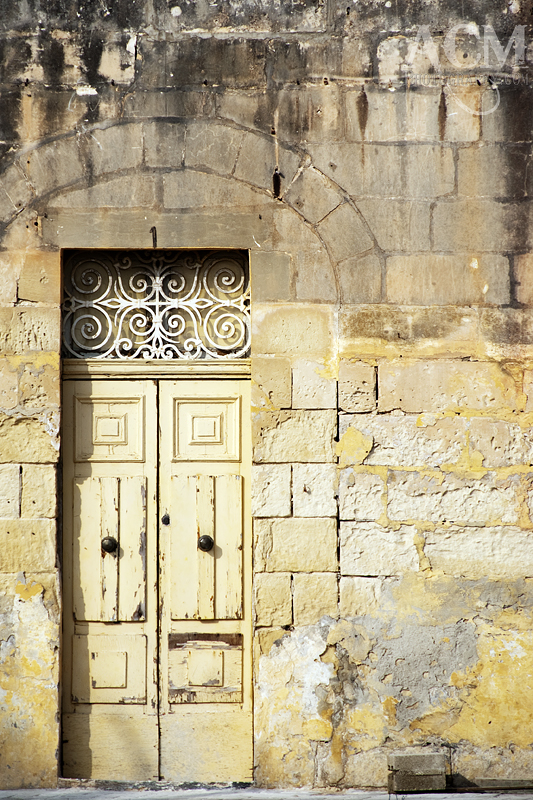
This is an image that I photographed in Malta. I liked all of the various textures in the rather monochromatic scene. However after I edited the RAW image (you can use any format you like) it still looks rather flat, as you can see below:
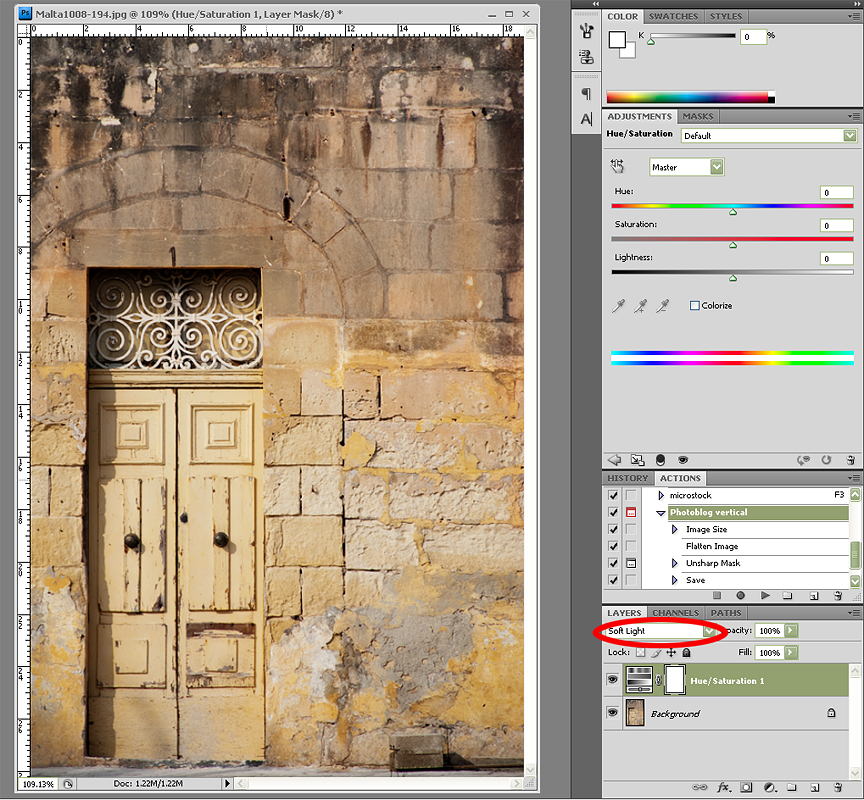
The first thing I’m going to do is add a Hue/Saturation adjustment layer. The most important step in this process is to change the layer blend mode to Soft Light, (If you need even more contrast, you can set this to Overlay instead) as you can see circled in red below:
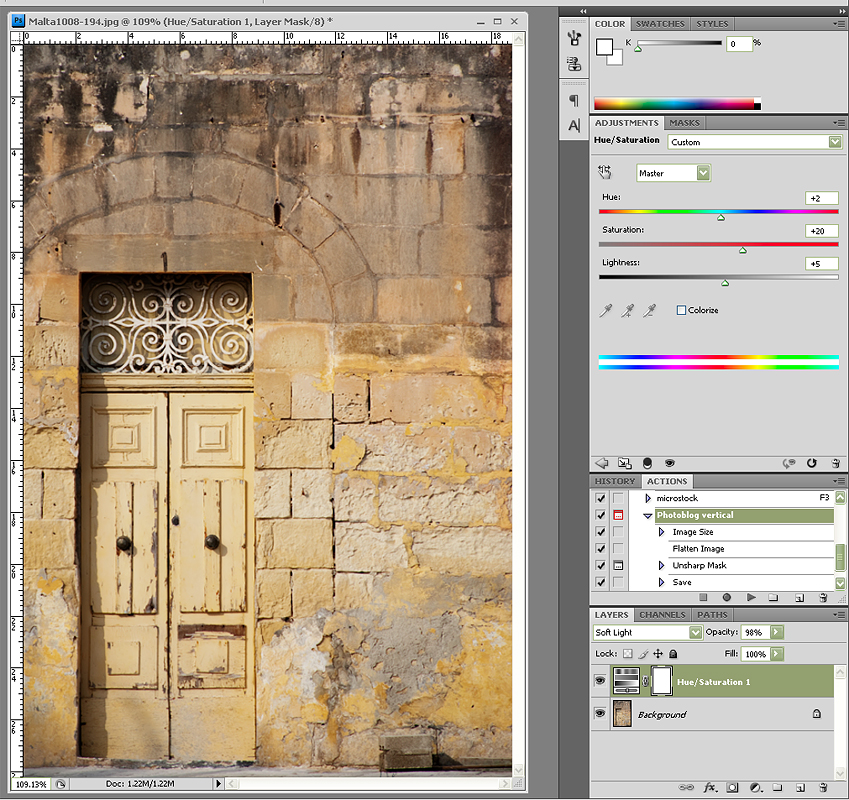
 There are two ways we can complete the final step. First, if we want bright, saturated colours, we can adjust the saturation slider. Below you can see that I have increased the Saturation to +20. You can increase any or all of the sliders as you see fit. If the effect is too strong you can also decrease your adjustment layer’s opacity in the layers palette (mine is set at 98%):
If you prefer a less saturated look, you can check the Colorize box as circled in red below. In order for this effect to work without really shifting the colour of your image, you need to drop the saturation to a low level. Here I have used -13.
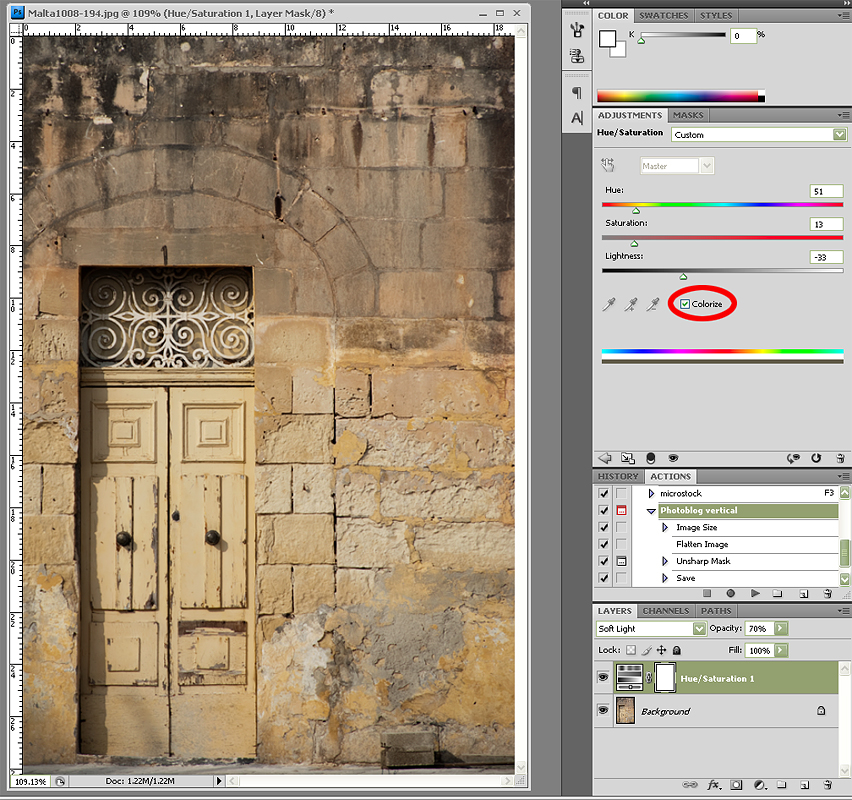
You can achieve many different looks by varying the intensity of the sliders and the layer opacity. Below you can see my Before and After images:

Here’s a different image with the same technique applied to add just a subtle contrast boost:
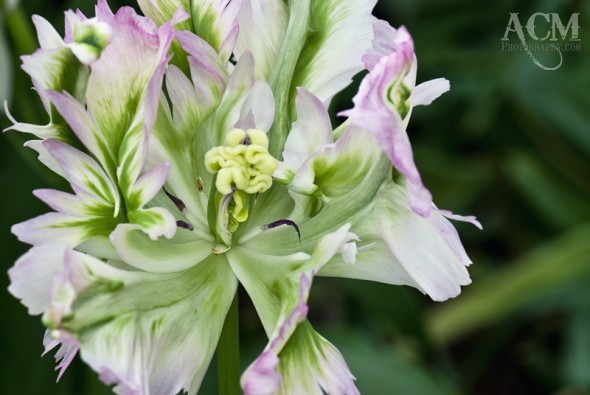
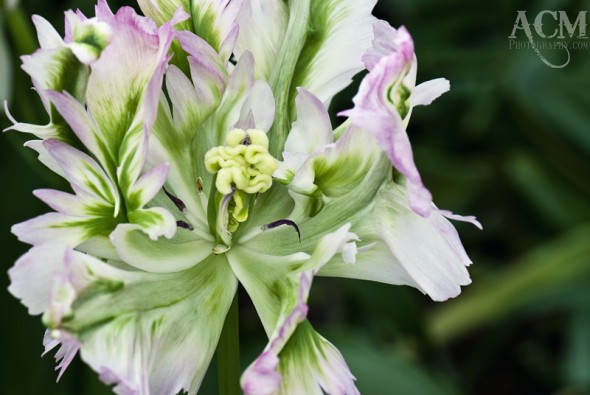
So, as you can see, in 15 seconds or less you can give any photo a contrast boost.